Take your Spaces to the next level with custom fields and filters. In this guide, we will talk you through the basics of creating and using custom fields with Spaces.
First Steps
Once you’ve updated the plugin to the latest version, you will see a new menu item in your admin dashboard – Custom Fields. If you are familiar with Advanced Custom Fields, you will be familiar with this. Indeed, this may already be in your main menu, as you may have installed ACF previously, or a plugin that has previously integrated it.
Go ahead and click on it. In this example, we are going to create a set of additional information for your Spaces to display. Our demonstration site is a directory of restaurants.
First, we create a field group. Field groups are ways of collecting together custom fields, and are very powerful. We’ve called ours ‘Restaurant Information‘.
This part is extremely important. In the ‘Location‘ box, we need to tell your site that our new field group will be for a Space. Under ‘Show this field group if‘, make sure that Space is selected (or the name of the custom post type if you have renamed it).

We want to add two extra pieces of information that our Spaces can choose to display:
- The number of parking spaces
- The style of cuisine
Use the ‘+ Add Field‘ button to open a new field box. We will use the label ‘Parking Spaces‘. When you click out of that box, a unique field name is provided for you. For the field type, we will use a number. If you want, give the Space owner some instructions for how to use this field. Finally, click on the toggle that asks if you want to ‘Display on Space about page?‘. As the number of parking spaces should be visible to your customers, we need to tick this so it is displayed on each Space’s ‘About‘ page.

Next, let’s allow Space owners to choose the type of cuisine they offer. We’ve created a second field called ‘Cuisine Style‘, and assigned it the select field type. We’ve then provided four choices that Space owners can select from. Make sure that you’ve made this field publicly visible too.
Go ahead and publish/update this field group.
Filling in the data
Next, we need you to take off your site administrator hat, and imagine you are the admin of a Space (or in our example, the owner of a restaurant).
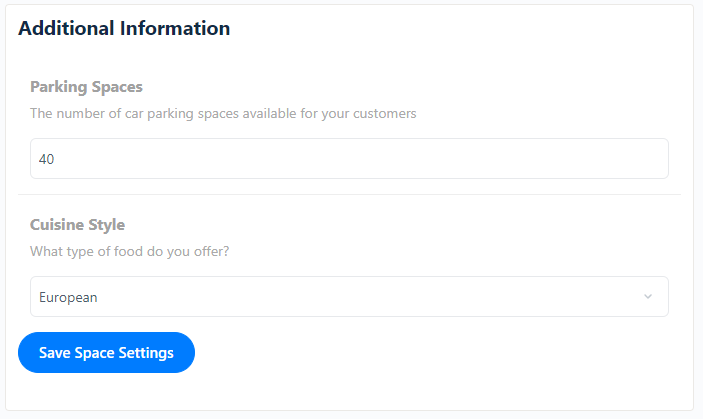
Go into a suitable Space and head to the Space settings screen. You’ll see a new tab – Additional Information. All custom fields will be presented here. This should be very self explanatory. Enter some suitable data, and save the Space settings.
Displaying your new fields to Space visitors
Your Space’s new Restaurant Information will appear automatically under it’s About page. Of course, there are plenty of other ways of displaying custom fields to your visitors, but these will be covered in another article.
Which Fields are Supported?
We have tested Spaces with the following field types, which should take care of 99% of user’s needs:
Basic
- Text
- Text Area
- Number
- Range
- Url
Content
- Image
Choice
- Select
- Checkbox
- Radio Button
- True/False


