Spaces Engine has always got your back improving your experience with Spaces. This time, our Spaces team has made remarkable progress with “ User Roles” .
Here, you can define specific user roles to limit and create Spaces for your WordPress site. This article today will elaborate on how you can manage user roles with a membership plugin.
In our case, we have used the MemberPress plugin due to its seamless benefits and popularity.
Spaces Engine – User Roles:
Before we hop into the process, let’s learn more about the feature “User Roles” in Spaces Engine.
We hope you already have Spaces Engine installed on your site. If not, you can follow our document and install the plugin to your WP dashboard.
Go to Space> Settings from your WP dashboard. You will find the common global settings here.

Choose the “Member Access” option. You will see a window with different options for managing Spaces for members on your site.
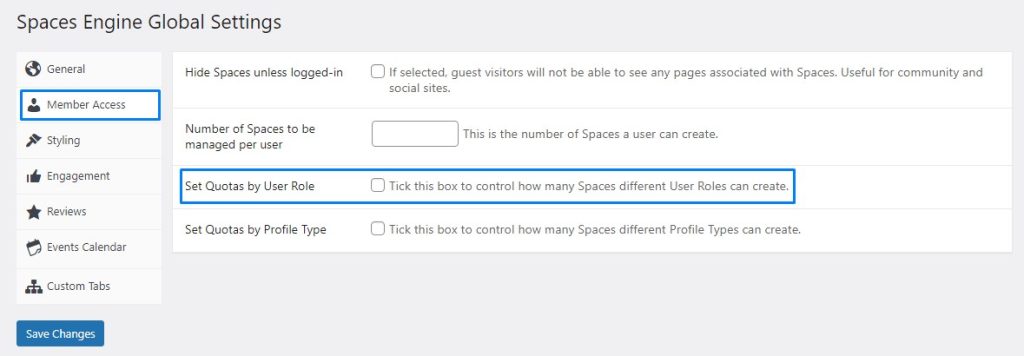
There you will find an option “Set Quotas by User Role”. If you don’t need to define user roles and limit Spaces differently for each user, you can leave this option out and choose the box above to assign the same number of Spaces for each user.
For membership websites, you will have to make use of this feature. To do so, tick on the small box beside “Set Quotas by User Role”
Spaces Engine team has set up a number of possible roles that you may need for your WP membership sites. Once you have ticked the box, you will see a drop down box with the entire list of user roles.
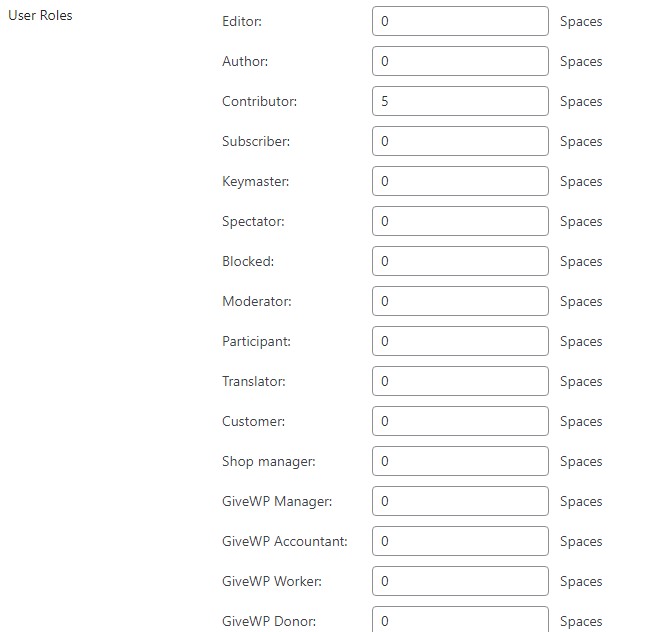
Here, you can set the numbers from -1 to unlimited and here what they means:
- Type -1: Insert -1 if you want to assign an unlimited number of Spaces to any specific user role. For example, Customers on your website can create unlimited Spaces when you place -1 into the relevant box.
- Type 0: This is when you don’t want any specific user to create any Spaces on your site. For example, Translators in your site can create 0 Spaces when you place this number to the relevant box.
- Any Number > 0: Allow users to create a number of Spaces on your website by assigning specific numbers to their roles. For example, when you assign 35 to the user role Group Leader, they can create 35 Spaces on your website.
That’s all for User Roles. Now, let’s check on how you can assign specific Space numbers using the MemberPress Plugin.
Benefits of User Roles in Spaces:
Earlier in Spaces Engine, either you had to assign the same number to each user or there is no way around it.
But with this feature “Set Quotas by User Role”, you can now define different Spaces for different roles of users.
For example, if the Group Leader of a community can create 15 Spaces, the Candidate doesn’t have to be assigned the same number. You can either assign less or more to the Candidate role. There are also a number of other benefits of this feature which we will show here:
- Managing Spaces is Easier: Administrators often have to manage and monitor every micro activity on their sites. When different users are assigned to the same Spaces, this will create turbulent outcomes. Not every user needs to create Spaces; With this feature on, you can now prevent those users from creating Spaces and ensure better management and experience for your website.
- Improved Site Experience: Restricting members who do not need to create Spaces is a benefit to limiting Space creation only to those it is necessary. For example, you might need someone to test your site for you and the individual doesn’t have to create a Space. Hence, you can now easily assign roles to them with no Space creation at all.
- A Boost to Site Audit: Enhance your audit results with a clean and organized website. Audit results depend on how effectively your site is performing. By avoiding unnecessary users from creating Spaces, you are also ensuring no additional Spaces are added. Hence, it improves your site experience and adds value to audit results.
How to Manage User Roles with MemberPress:
About MemberPress: MemberPress is one of the best membership plugins for your WordPress site. With seamless features like, creating user subscription to selling online products/ services, you can get robust support from this plugin.
It is a premium WordPress plugin and they share no free version. This means you have to purchase this plugin from their official website and add it to your WP plugin list.
Let’s look into how you can manage Space user roles with MemberPress.
Step 1: Purchase the Plugin
Complete your payment and purchase MemberPress from their official website here. There are three different purchase plans for this plugin. Make a selection that’s suitable for your website.
NB: Having an account in MemberPress.com is a must for purchase. Open an account if you don’t have one yet.
Step 2: Install the Plugin
You can install the plugin in two different ways. Once you have purchased the plugin, log in to MemberPress.com and go to “My Account > Download”. From there, you can download the plugin zip and install the plugin.
To have a clear idea on how you can install the plugin, follow these simple steps from MemberPress doc.
Step 3: Managing User Roles with MemberPress
Managing user roles with MemberPress requires only a few simple steps. Once you have installed and activated the plugin, you will find a MemberPress logo in your WP sidebar. Hover on it, and you will see a drop down menu with several options to use the plugin.
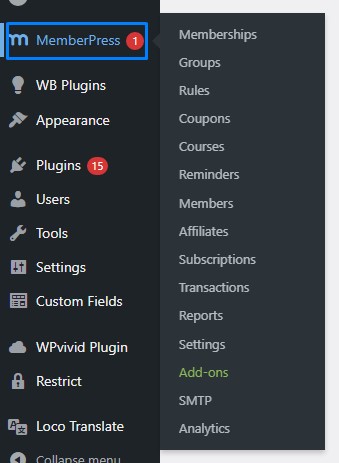
To create and define a user role in your WordPress site, go to MemberPress> Memberships. After that, you will be forwarded to a page like that:
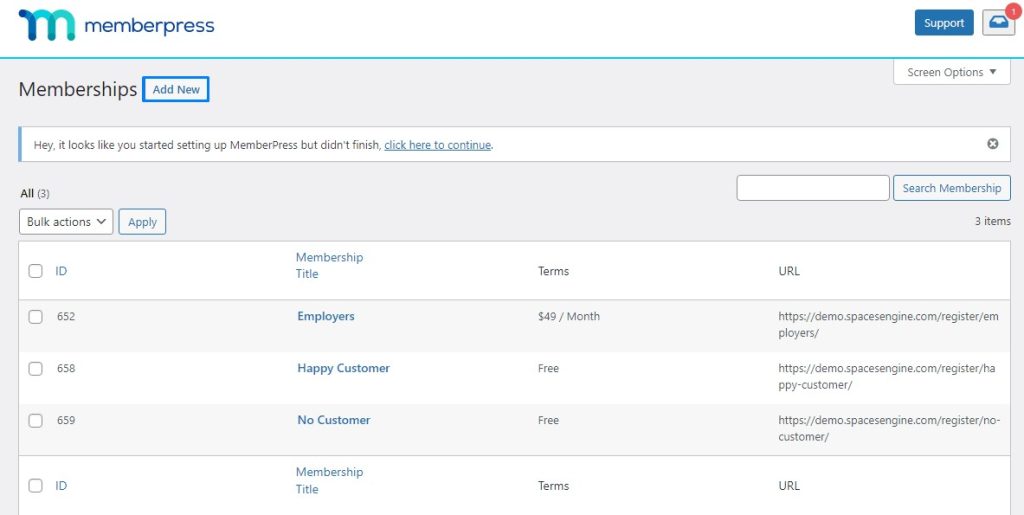
This page shows how many user roles you have on your website. You can also create new roles from this page. To create a new user role, click on “Add New”
By default, you will be in the Registration tab for creating a new User Role. You can set a Title here for specific user roles.
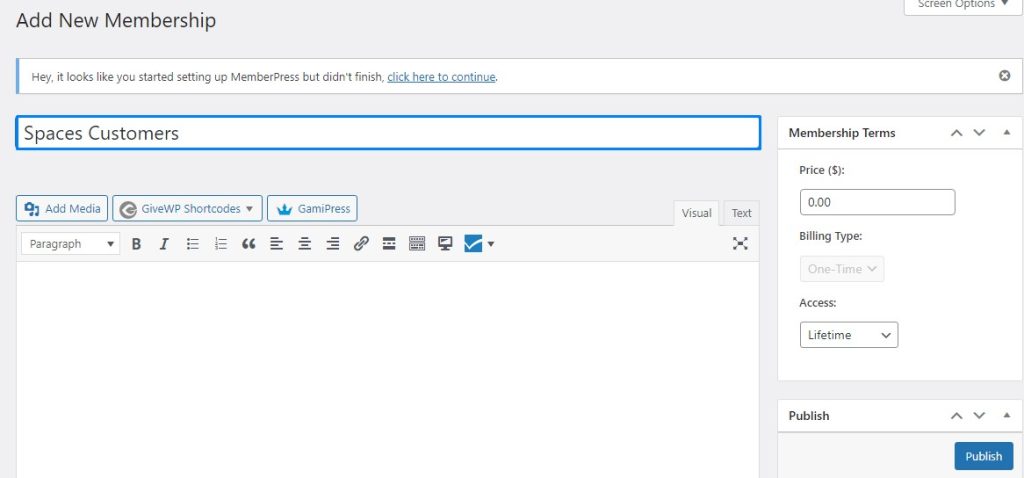
You will have several options like sending welcome emails, customizing payment methods, disabling address fields from here. However, for now, we will focus on creating and defining an user role only.
Go to the Advanced tab from Member Options. Here, along with several other options, you will see “Use Roles for this Membership” option.
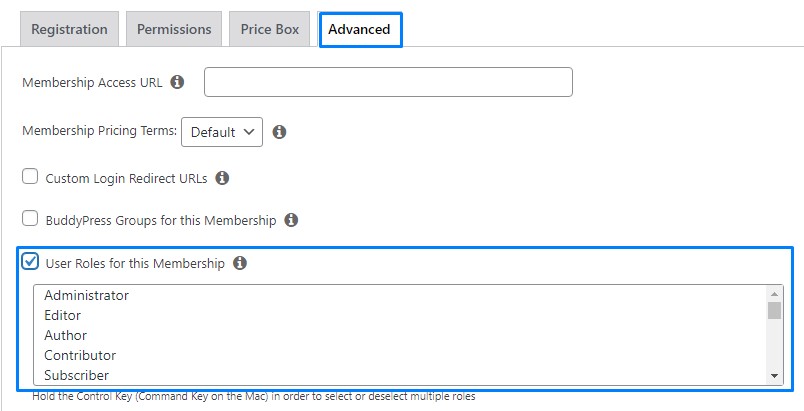
Tick on this box to define the user role (In my case: Spaces Customer) to any specific role with your WordPress site.
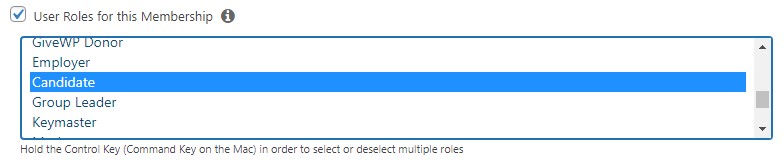
In my case, as you can see I have assigned the role “Spaces Customer” to the User Role “Candidate”
NB: You can also assign a number of user roles to a single membership role. For this, hold the Ctrl button from your keyboard and select other user roles that you want to assign.
Once you are done with all the steps mentioned here, click “Publish”.
That’s it, your membership role has been created and now you can check it out from the front end as well. Click on “View Membership” and Viola!
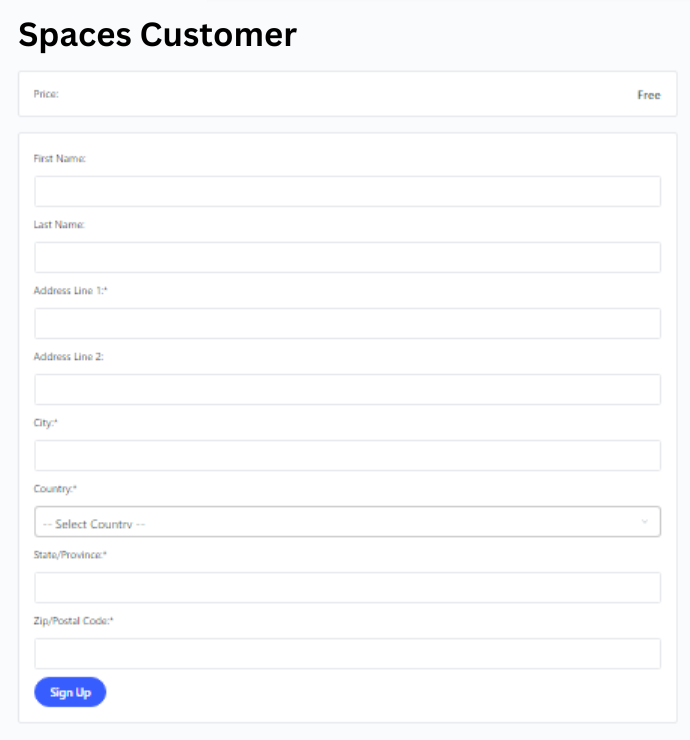
Here is my register page for the membership I just created. Now let’s get back to where you can assign this membership for creating a specific number of Spaces.
Step 4: Assigning Membership To Create Spaces
From the Advanced tab of MemberPress, we have already assigned the User Role “Candidate” for this membership. Now we just have to assign Space numbers to this user role.
Go to Spaces> Settings> Member Access from your WP dashboard. Find out the Candidate role from the User Roles drop down menu.
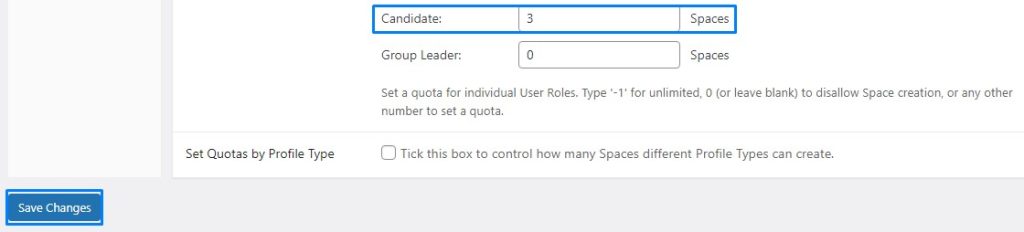
Let’s assign 3 Spaces for this role meaning anyone who signs up for a “Spaces Customer” membership will only get to create 3 Spaces on your website. Click “Save Changes” and you are all set to go.
That’s all for today. We hope this article made the entire process from creating to assigning membership to Spaces easier for you. However, if you have any more questions, you can reach us out at [email protected].