Spaces for BuddyBoss comes with a powerful mechanism to restrict the number of Spaces that can be created on a global or user level.
In the beginning, users were allowed to own one Space. This means they would create a Space, but to create a second, they would have to delete the first.
However, we have improved this feature with time. Now, beside limiting Spaces for every user, you can also customise Space numbers for different roles and profile types.
Member Access
Go to Spaces > Settings. Here, you will see a window with several options for customising Space creation for users. Go to Member Access.
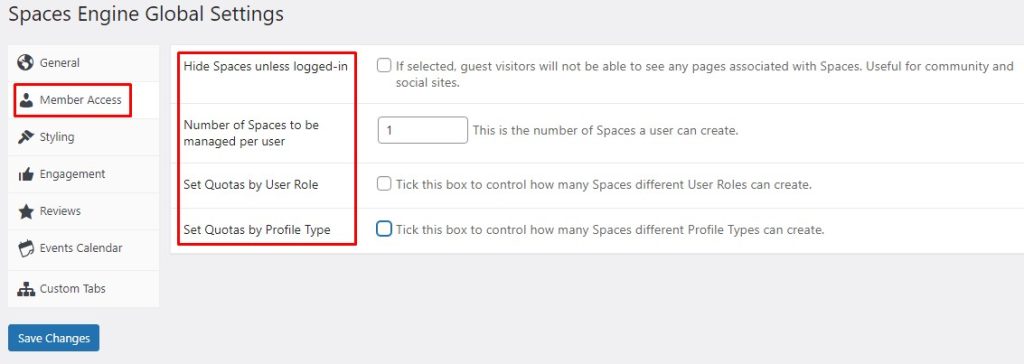
1. Hide Spaces unless logged-in:
When you select this box, guest users or non-logged-in users will not be able to see any pages associated with Spaces. This feature is essential for community and social sites.
However, If you set BuddyBoss to private, you do not need to worry about this setting.
2. Number of Spaces to be managed per user:
This option lets you change the number of Spaces a user can own. Setting any number to this box will affect every user on the site. But, to modify or limit the Space creation for each user role, you can leave this box unattended.
3. Set Quotas by User Role:
This feature lets you restrict/ modify Space creation for different user roles for your WordPress site. Tick this box and you will see a drop-down box with a list of WP User Roles.
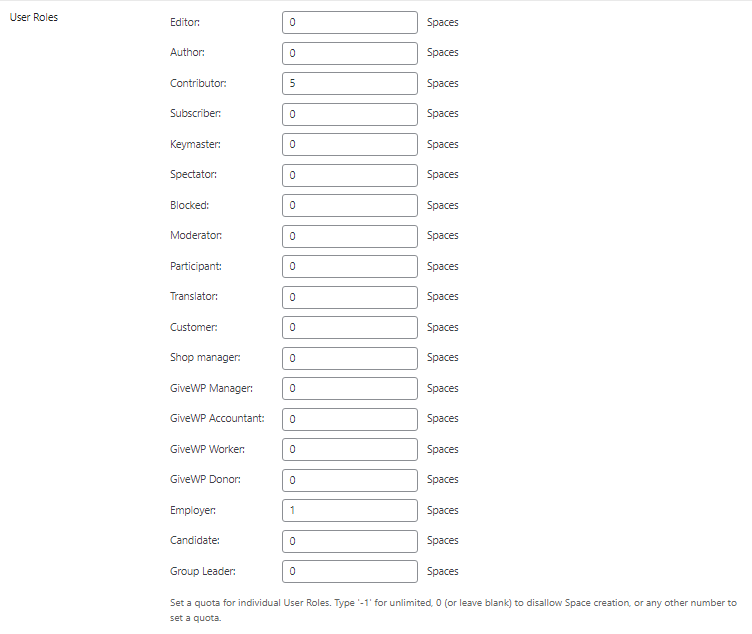
You can set any number from -1 to unlimited and here are what the numbers mean:
- Type -1: Insert -1 if you want to assign an unlimited number of Spaces to any specific user role. For example, Customers on your website can create unlimited Spaces when you place -1 into the relevant box.
- Type 0: This is when you don’t want any specific user role to create any Spaces on your site. For example, Translators on your site can create 0 Spaces when you place this number in the relevant box.
- Any Number > 0: Allow users to create several Spaces on your website by assigning specific numbers to their roles. For example, when you assign 35 to the user role of Group Leader, they can create 35 Spaces on your WP website.
When you are done setting up Spaces for different user roles, hit on “Save Changes.”
N.B: You can synchronise with any membership plugin to assign Spaces for different user roles. Check out how you can manage user roles with the MemberPress plugin to offer seamless Space creation.
4. Set Quotas by Profile Type:
To restrict or modify Space creation by Profile Types (for BuddyBoss Community), tick this box. And you will see two different Profile Types.
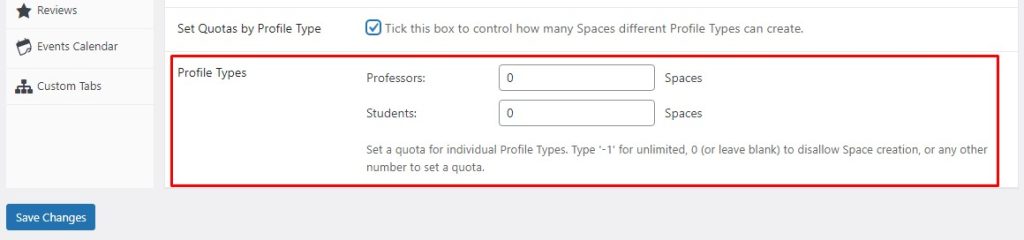
When you have assigned Spaces to different profile types, click “Save Changes” and you are all set to go. We hope you enjoy this new feature, if you have any further questions please reach out to [email protected]


