Spaces Engine has opened up gates of immense possibilities for the BuddyBoss community. One of the recent features the Spaces team has come up with is restricting Spaces for Profile Types.
Earlier, we focused on Managing User Roles With MemberPress. Managing profile types with Restrict Content Pro may seem similar, but we are here for the additional steps.
Let’s have your seatbelts on!
Using Restrict Content Pro for Profile Types:
Restrict Content Pro is an amazing membership plugin for WordPress. It is a premium plugin (there is also a free version) that enables users to manage and restrict content seamlessly throughout the platform. This feature offers a lot of possibilities. Among these, the most beneficial is offering information in exchange for accessing the restricted content. This information can be anything from an email address to opening a subscription account.
Today, we will use this plugin to manage Profile Types for Spaces. For this, we will need two plugins:
- Restrict Content Pro
- Restrict Content Pro- BuddyPress Integration
We will use Restrict Content Pro- BuddyPress Integration to integrate with BuddyBoss Profile Types.
Notes:
- Restrict Content Pro- BuddyPress Integration is a seamless integration plugin between your BuddyBoss Platform and Restrict Content Pro, meaning you must have both of these plugins (BuddyBoss Platform and Restrict Content Pro) installed in your WP site to make it work.
- Not necessarily; you need to have BuddyPress installed in your platform to make this plugin work. When you have the BuddyBoss Platform installed, it shapes the way for BuddyPress Plugin.
Now that we are all warmed up, let’s jump into the tutorial with the step by step guide.
Managing Profile Types with Restrict Content Pro:
Step 1: Installation Of The Plugins
Restrict Content Pro is a premium WordPress plugin. However, there is also a free version available that provides only a few features. Hence, we will continue to work with Restrict Content Pro and Restrict Content Pro- BuddyPress Integration (Both Premium Versions).
Once you have purchased both plugins, go to Plugins> Add New
- Installing Restrict Content Pro: Click “Upload” and select the Zip plugin file you received after purchase. Once you have uploaded the file, click “Install Now.” And then select “Activate Plugin.” Restrict Content Pro will now be activated.
- Installing Restrict Content Pro-BuddyPress Integration: Installing Restrict Content-Pro BuddyPress Integration requires the same steps as Restrict Content Pro. Upload the Zip file from your download folder, install and activate it. Once you have done that, your plugin is ready to work on.
Step 2: Setting Up Restrict Content Pro
Integrating Restrict Content Pro with BuddyBoss requires a few easy steps. Follow these directions, and you will be ready to assign Spaces for different Profile Types.
Go to Restrict> BuddyPress from your WordPress Dashboard. Here, you will see two Tabs – General and Settings. Go to “Settings”
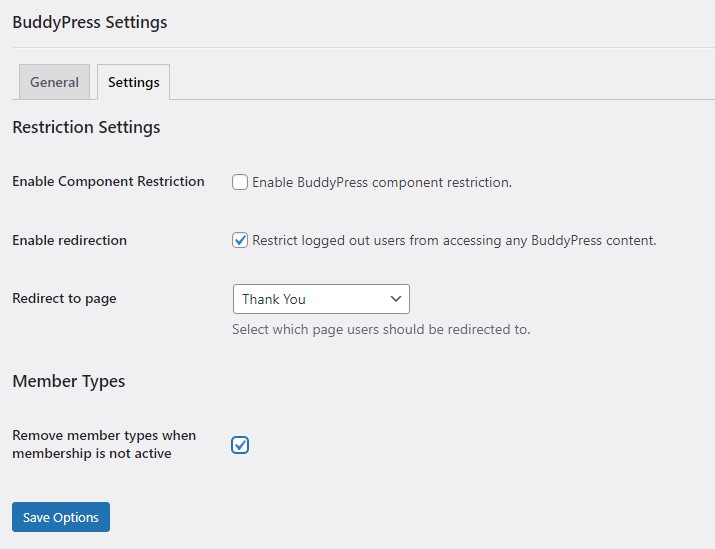
Here, you will find several options to restrict BuddyPress contents and components. Not only on contents, but you can also set restrictions on Components like Video, Messages, Friends, and Invites. Several options include enabling redirection for logged-out users and removing member types for inactive memberships.
Set these options accordingly and select “Save Options.”
Step 3: Integrating with BuddyBoss Profile Types
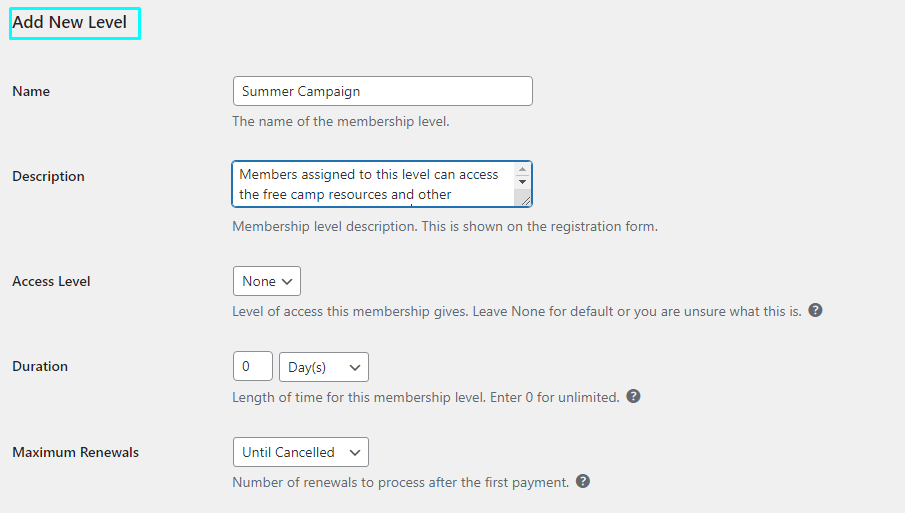
We aim to assign BuddyBoss Profile Types to a new or existing Membership level. To do so, go to Restrict> Membership Levels.
You will find a window with Add New Level below the membership levels.
You will have several options here.
Set a Name and write down a few words of description about this level here. You will see several other options here. Set them accordingly.
Now, scroll down, and you will find “Member Type.” This option syncs you with BuddyBoss Profile Types.
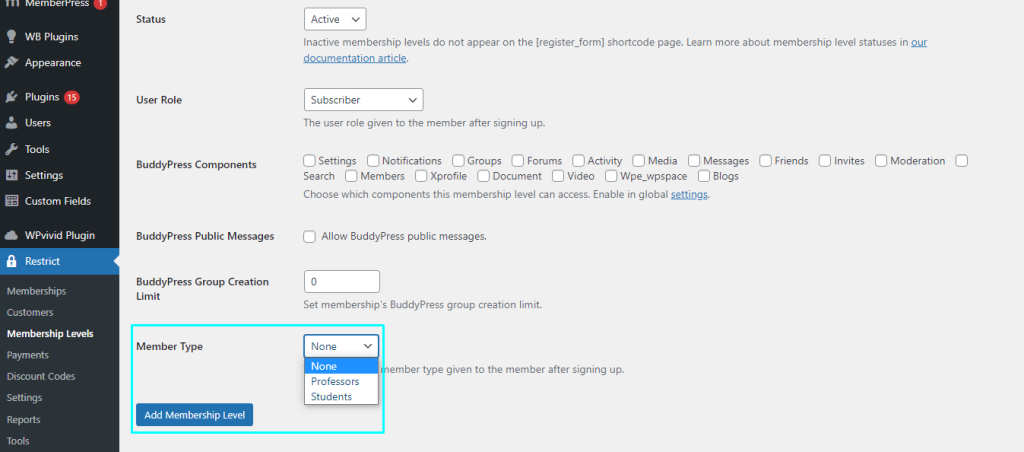
You can see a dropdown list of BuddyBoss profile types here and assign them to existing or new membership levels. We can, then, restrict Space creation accordingly.
For example, I have the membership level “Summer Campaign” under the member type “Students.”
After setting up all the options, click “Add Membership Level.” And you are good to go.
Step 3(1): Editing Existing Membership Level
Not always; you will end up creating a new Membership Level. Sometimes, you may need to edit an existing membership level for a new member type. To do so, follow these simple steps:
Go to Restrict> Membership Level and hover on the membership level you want to edit. Three options will appear; select Edit.
You will see a window show up before you with multiple options. Scroll down and go to Member Type.
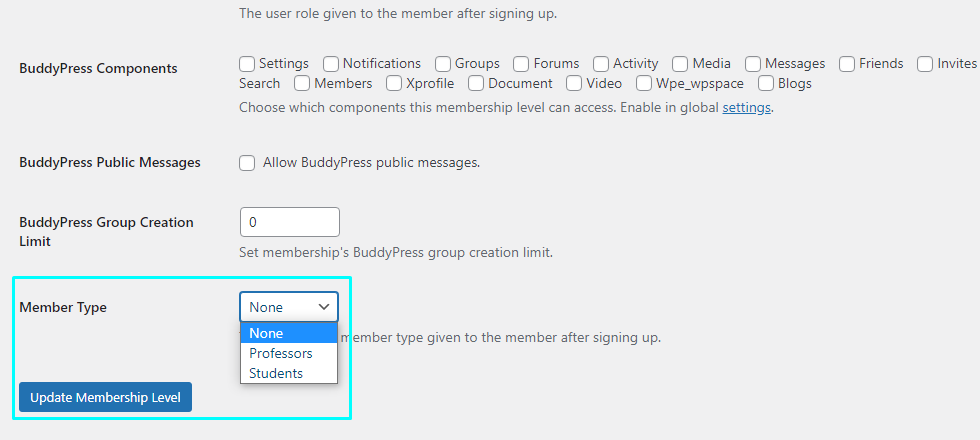
Select the desired member type you want to assign this Membership level into. And click “Update Membership Level.”
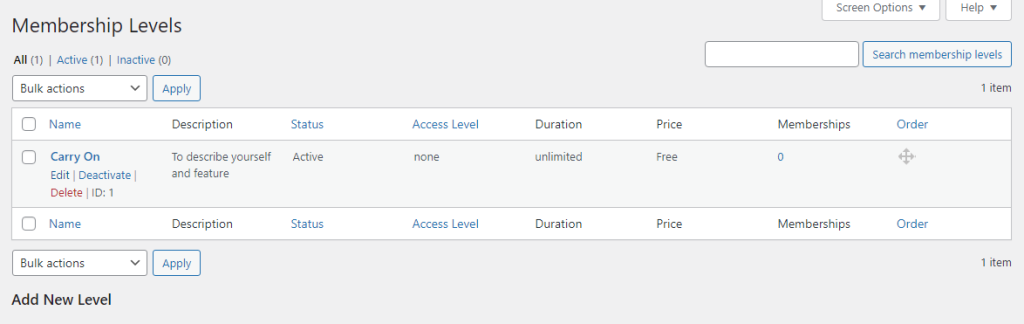
For example, I have assigned an existing membership level, “Carry On,” to member-type- Professors and created a new membership level, “Summer Campaign,” with a member type – Students.
Step 4: Limiting Space Creation for Profile Types
What do we have in hand? Two Membership levels with two different BuddyBoss Profile Types. Now it’s time to restrict space creation for these two profile types.
To limit Space numbers by BuddyBoss Member Types, go to Spaces> Settings> Member Access.
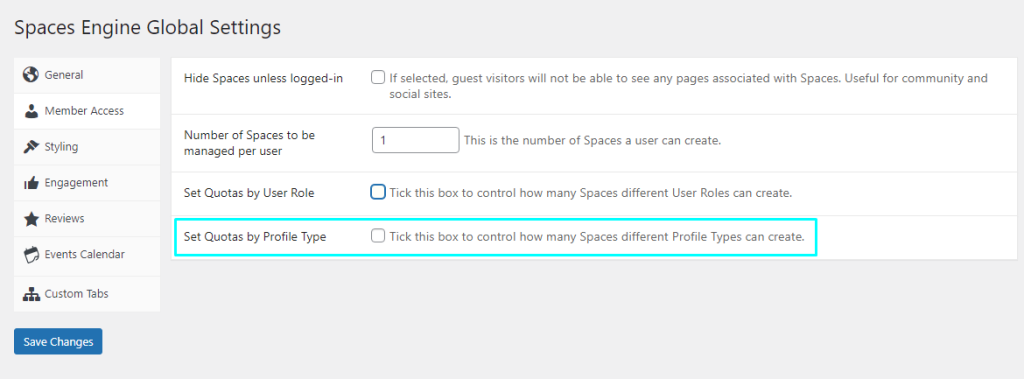
Here, you will see several options. Look out for Set Quotas by Profile Type and tick the box.
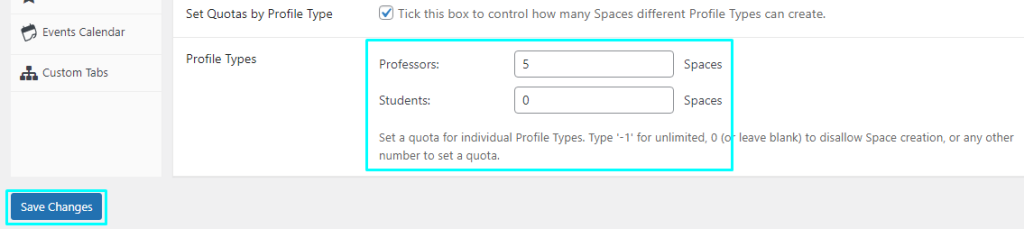
You will find two different boxes for Professors and Students. Set the values to any number and assign them to that specific profile type. Click “Save Changes,” and you are all set.
Learn more about Restricting New Space Creation by Profile Types here.
For example, I have set 5 Spaces for Professors and 0 Spaces for Students. Any membership IDs in my WP site under the membership level “Carry On” assigned to member type Professors can create up to 5 Spaces.
On the other hand, membership IDs with Summer Campaign membership levels assigned to member-type Students can create no space.
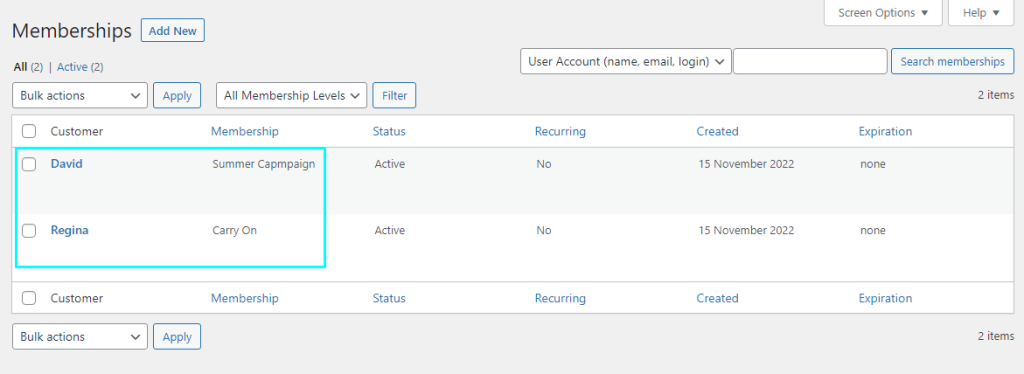
Check out this photo here. You can access the Membership list from Restrict> Memberships. Here, I have created two different memberships here – David and Regina. As you can see here, David is under the Membership Level “Summer Campaign,” and Regina is under “Carry On,”meaning David can create 0 Spaces while Regina can create 5 Spaces.
This was all for today. If you have any further questions regarding creating Membership Levels, Memberships, or assigning Member Types, please feel free to leave a comment.